Note:
See Section 8.2.2 for installing the well cap base and the Support Hanger Bracket for securing the cable when deployed.
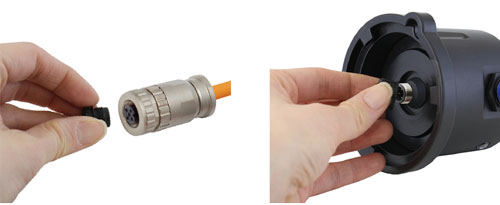
Remove the storage caps from the connectors on the Wellhead and Vented Cable.
Note:
Ensure you save all the storage caps for future use.
Note:
For diagnostic purposes, you may wish to install the end of the Vented Cable with the serial number, to the Wellhead connection at surface
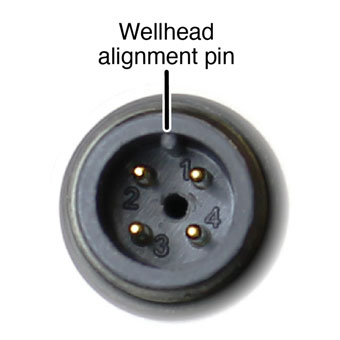
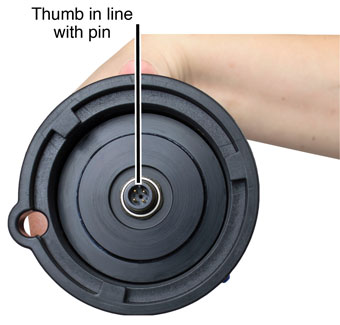
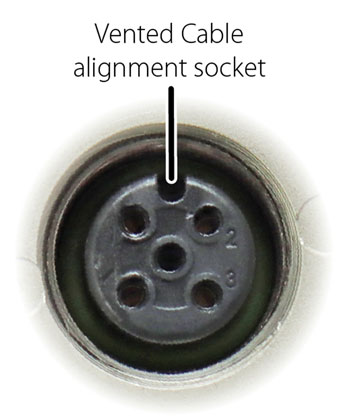
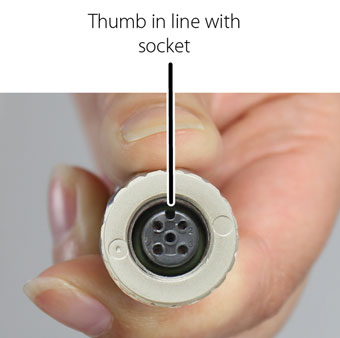
Line up the alignment pin and socket.
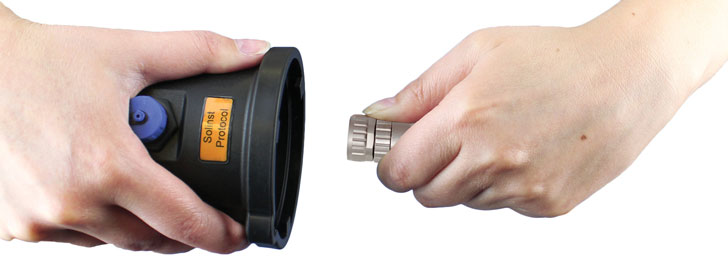
Gently push the Wellhead and Vented Cable together. Twist the cable connector slightly until you hear/feel a small click when the properly aligned connection is made.
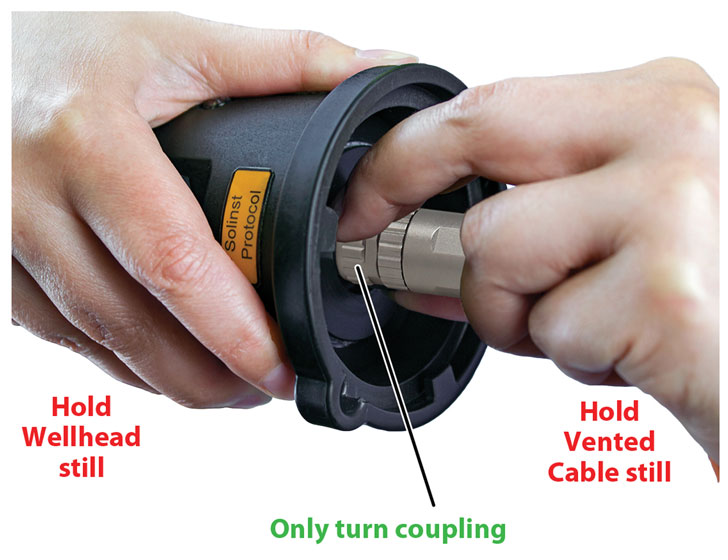
Only tighten the coupling. While holding the Wellhead and Vented Cable still. Tighten the stainless steel coupling until it seats. Do not twist the Vented Cable or Wellhead.
Figure 1-12 Connecting a Vented Cable to the AquaVent Wellhead
Note:
Do not twist the Vented Cable when connecting to a Wellhead or AquaVent logger. Only turn the coupling.


