- To set up your SolSat 5, go to Settings, then select "Setup". The first step shows a Glossary of terms to help with the rest of the set up. Click Next.
- Use the drop-down menu to select the data plan that your SolSat 5 has been registered with. Click Next.
- Use the drop-down menu to select the GMT Time Offset for your SolSat 5 location. Then, select the time(s) of day you would like to receive the data reports. Click Next.
- Next, select the desired data format for the reported data:
Depth: reports the calculated water depth from the Solinst datalogger. For absolute water level sensors, the barometric data from the internal SolSat 5 barometer is used to subtract from the water level sensor reading, to provide the depth of water above the water level sensor zero point. - For Plans 1 and 2, select the check-box to set an Alarm. The alarm will be based on your selected data format. You can select a Value (positive or negative) that if the sampled measurement goes Above or Below will trigger an alarm message to be sent. Click Next.
- In the next steps you will select the parameters and units of measurement that you want to use for reporting the temperature, pressure, and conductivity if you are using an LTC datalogger. First, select the unit of measurement for the temperature sensor.
- Based on your data plan, select which parameters you would like to be reported. Click Next. There will be no Option for Plan 1.
- Based on the selected options, select the units of measurement for each parameter.
- Select the data that you want sent with each report/transmission. The options are: Transmit GPS and current values,Transmit current values, or Do not transmit, save only.
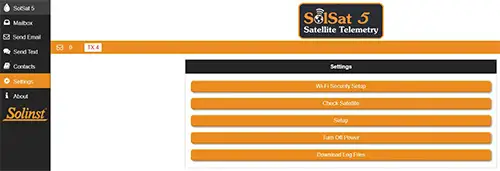
SolSat 5 Wi-Fi App Settings Menu
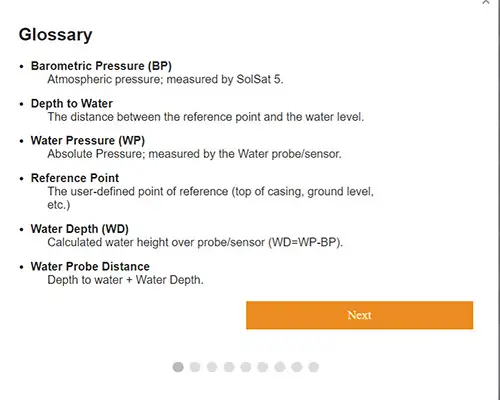
SolSat 5 Setup Step 1: Glossary
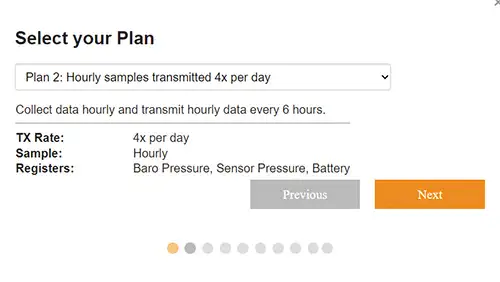
SolSat 5 Setup Step 2: Plan Selection
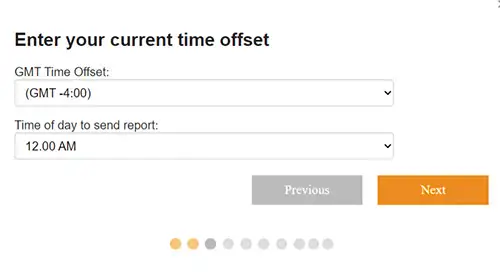
SolSat 5 Setup Step 3: Time Settings
Note:
For more information on the operating principles of Solinst dataloggers, see the Levelogger and Vented Datalogger User Guides.
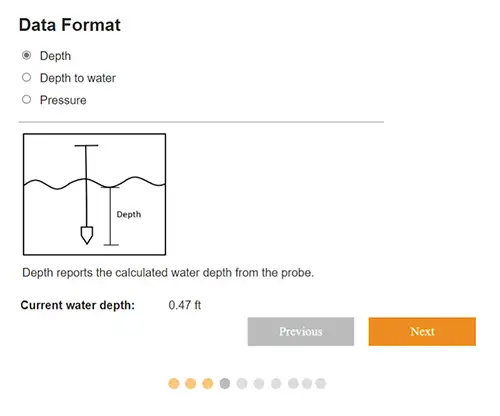
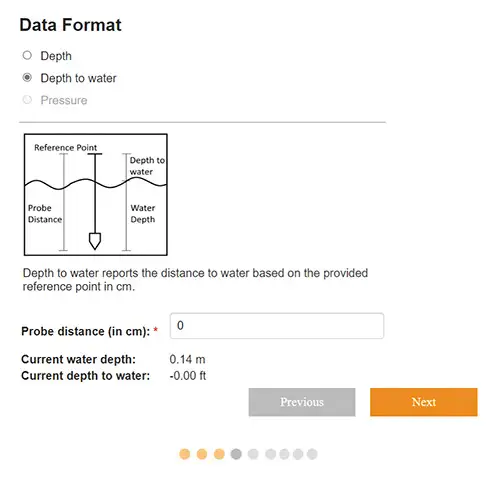
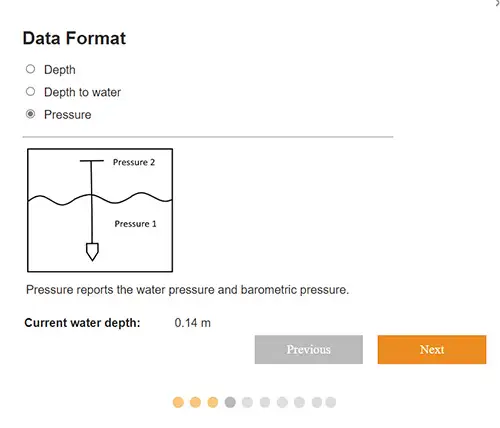
SolSat 5 Setup Step 4: Data Format Settings
Depth to Water: reports the depth to static water level based on a Reference Point. The Probe Distance is entered as the distance between your selected Reference Point (e.g. top of well casing, ground level) and your water level sensor zero point. The Depth to Water is calculated by subtracting the water Depth (see above) from the Probe Distance. Click Next.
Pressure: reports the uncompensated pressure reading from the datalogger.
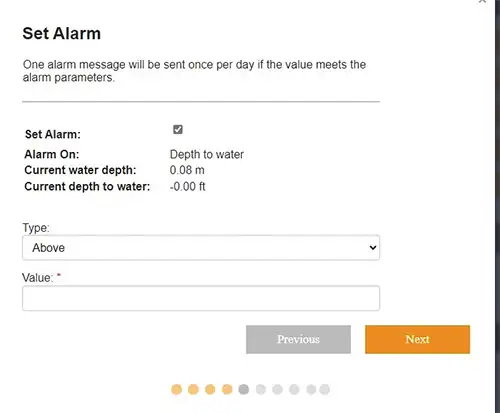
SolSat 5 Setup Step 5: Alarm Settings
Note:
If set, an alarm message will be sent once per day if the alarm parameter is met.
Note:
If you have selected Plan 3, you can set an alarm using the solinstsat.com web portal.
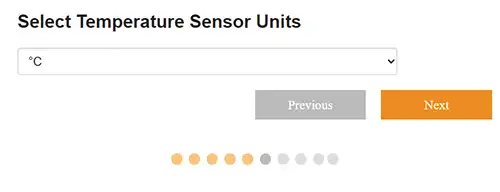
SolSat 5 Setup Step 6: Temperature Unit Settings
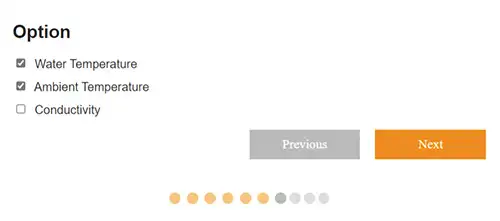
SolSat 5 Setup Step 7: Parameter Option Settings
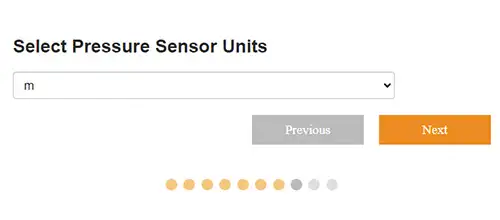
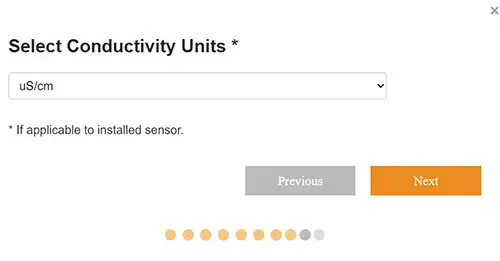
SolSat 5 Setup Step 8: Parameter Unit settings
Note:
You can download the data directly from the SolSat 5 using the Wi-Fi App when within range. The SolSat 5 can store up to 100,000 data logs.
Click Submit to finish the setup.
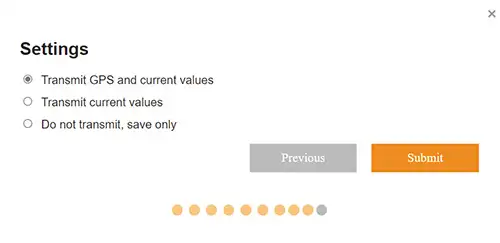
SolSat 5 Setup Step 9: Data Transmission Settings


