Tip:
It is recommended to take a manual water level measurement before installing a LevelVent 5, shortly after installation, periodically during your monitoring interval, and at the end of your measurement period. Use these measurements to verify LevelVent 5 readings, and for data adjustments later on. Ensure you take manual readings as close in time as possible to a scheduled LevelVent 5 reading.
Note:
The LevelVent 5 logger can withstand overpressurization of 2 times the intended range, e.g. a Model M10 can accommodate a fluctuation of 20 meters or 60 feet and still record pressure. However, over-range accuracy is not guaranteed.
Before Deployment
Make sure you do the following:
- Program your LevelVent 5, using Levelogger Software, with the correct project identification, memory mode, sampling regime, time, etc.
- Set a future start time in the office, or start the LevelVent 5 logger in the field using Levelogger PC Software and a laptop, or the Solinst Levelogger 5 App Interface.
- If desired, use the Datalogger Zero feature in the Levelogger Software to zero the logger (see the Vented Dataloggers User Guide for more details).
- Determine borehole depth to ensure the LevelVent 5 logger does not touch the bottom of the well (avoid submergence in sediment).
- Determine the minimum and maximum expected water levels, as LevelVent 5 loggers must remain submerged for the entire monitoring period.
- Use a Solinst Model 101 or 102 Water Level Meter to take a manual depth to water measurement that will be used to verify LevelVent readings.
Note:
It is useful to synchronize the times of all LevelVent 5 dataloggers being used for the same project.
Note:
The length of the Vented Cable should not be assumed as the deployment depth, as there may be some slack in the cable, especially when using the Support Hanger Bracket
Deployment


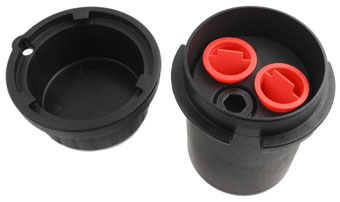
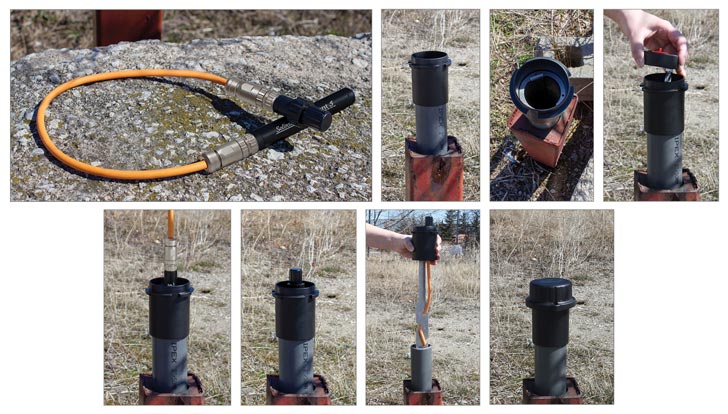
- The LevelVent 5 is designed to be conveniently installed using a Solinst 2" Well Cap Assembly (4" well adaptor available). However, other installations are acceptable, if proper precautions and recommendations are followed.
- A Support Hanger Bracket is provided with each 2" Well Cap Assembly to help secure the Vented Cable to the Wellhead
- The 2" Well Cap Assembly provides access for manual depth to water measurements, without disturbing the LevelVent 5 logger from its down hole position.
- The Wellheads have a rating of IP 64 (dust and splash resistant), so should not be submerged at anytime. They can be secured inside an enclosure, however, it must be vented to equalize atmospheric pressure.
- Do not drop the LevelVent 5 logger into the water, carefully lower it into place. Avoid installing in areas where "water hammer" or hydraulic jump" (very sudden, large increases in pressure) may occur.
- Be careful not to nick or bend the Vented Cable during installation (use a maximum 1" (25 mm) bend radius as a precaution).
Note:
For tips, precautions, and more information on installations in different environments and applications, see the latest Vented Dataloggers User Guide.

After Deployment
Make sure you do the following:
- Take a manual depth to water measurement after the well has stabilized (approximately 10 minutes).
- Take another manual depth to water measurement just before removing the LevelVent 5 from the well.


