The WLTS Utility is Windows®-based, and is therefore used with a desktop or laptop PC.
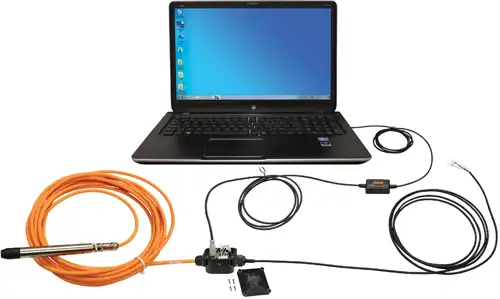
To communicate with the PC, the WLTS is connected to the WLTS Current Loop Adaptor (Sections 1.4.1 and 1.5.1) and the Adaptor connected to the PC using the supplied USB-A Programming Cable.
- Before connecting the USB-A Programming Cable to the PC, the switch on the WLTS Current Loop Adaptor should be in the SW=2 (middle) position. This will allow configuration of the WLTS using the Software Utility.
- To connect the USB-A Programming Cable to the WLTS Current Loop Adaptor, if not done already, remove the cover of the Adaptor by unscrewing the four Phillips screws.
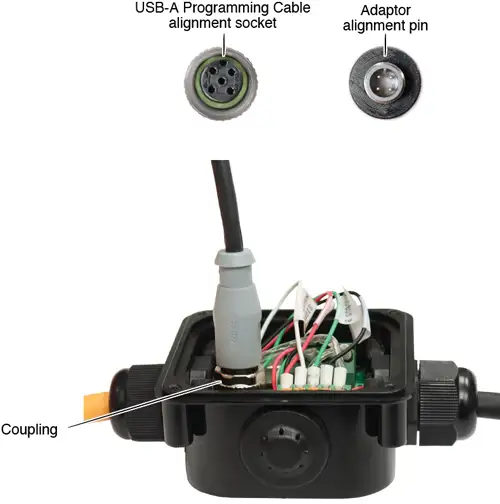
- Line up the alignment pin on the Adaptor connection with the socket in the USB-A Programming Cable. Gently push the connections together and twist slightly until you feel/hear a small click when the properly aligned connection is made. Only tighten the coupling while holding the cable still. Tighten the coupling until it seats.
- Plug the USB-A Programming Cable into your computer. Upon power-up, the WLTS Current Loop Adaptor performs a self-test while the tri-color LED blinks blue, red, and stays on at green.

Figure 2-1 Connecting the USB-A Programming Cable

Figure 2-2 WLTS PC Software Utility Communication


