Levelogger Biofoul Screen Instructions
Operating Principles
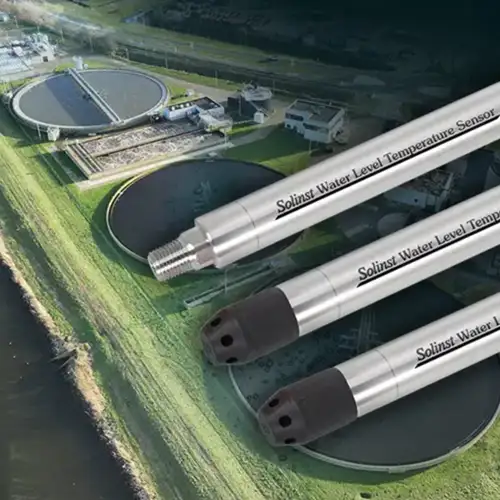
When a Solinst water level datalogger is deployed for an extended period of time, especially in coastal and seawater enviornments, there is the risk of biofouling on the Pressure Sensor and Conductivity Cell, which can affect the reliability of the measurements.
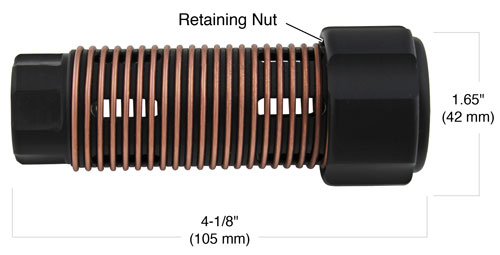
Biofoul Screen (#110659)
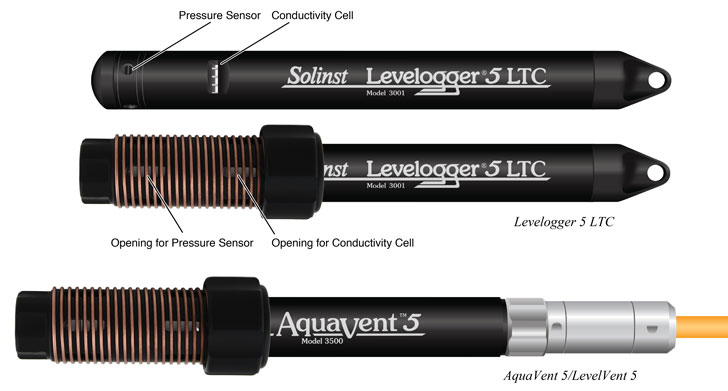
The Biofoul Screen can be used with the Levelogger 5, Levelogger 5 Junior, Levelogger 5 LTC, LevelVent 5, AquaVent 5, as well as previous Solinst datalogger versions.
Using the Biofoul Screen
- Loosen the Retaining Nut on the Biofoul Screen Body.
- Slide the datalogger into the Biofoul Screen Body, sensor end first, until it seats in the end of the Body.
Note:
The Biofoul Screen is designed to allow water to flow freely through the Screen and the Conductivity Cell, as well as to the Pressure Sensor inlet.
- It is recommended to line-up the Conductivity Cell with the opening in the Biofoul Screen Body (if installing on a Levelogger 5 LTC).
- Hand tighten the Retaining Nut onto the body of the datalogger. Do not over tighten.
- Replace the Biofoul Screen as required.
When installed, the Biofoul Screen adds approximately 3/4″ (19 mm) to the length of the datalogger.
Related Blog Posts
The Importance of Measuring Drawdown
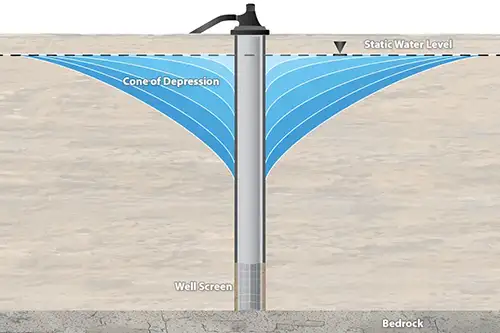
How Using a Levelogger and 101D Water Level DrawDown Meter Together Provides Essential Data What is Drawdown? Drawdown is a change in groundwater level due to an applied stress, caused by events such as: Pumping from a well Pumping from a neighbouring well Intensive water taking from local area Seasonal declines as recharge rates lower How is Drawdown Measured?
Related Products
Plug and Play Telemetry
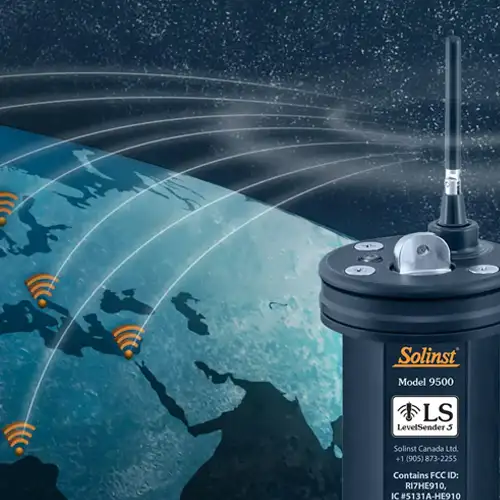
Already own Leveloggers? Quickly and easily upgrade your monitoring wells with LevelSender Telemetry. The 4G LevelSender 5 telemetry system features an optional Solinst SIM card. It is set up for you in advance—with a low-cost plan managed by Solinst! An internal barometer provides automatically compensated water level readings; set high/low level alarms.
Discover Anywhere Monitoring
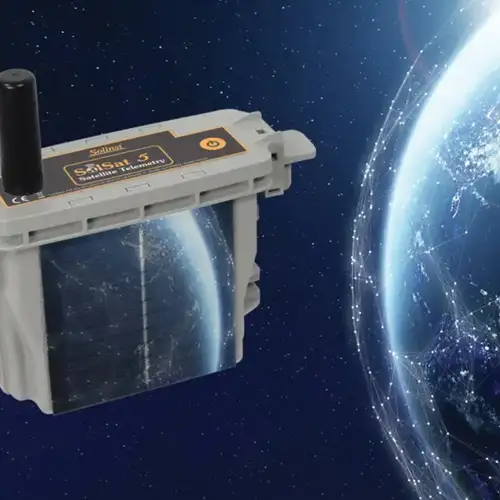
SolSat 5 is a telemetry system that leverages Iridium satellite technology to provide global connectivity for Solinst 5 Series dataloggers. It uses low cost TextAnywhere global satellite messaging to send remote data to a secure web portal. It features a robust weatherproof enclosure for installation almost anywhere. Features built-in Wi-Fi setup app, solar panel, and barometer.
Solinst Readout Unit (SRU)
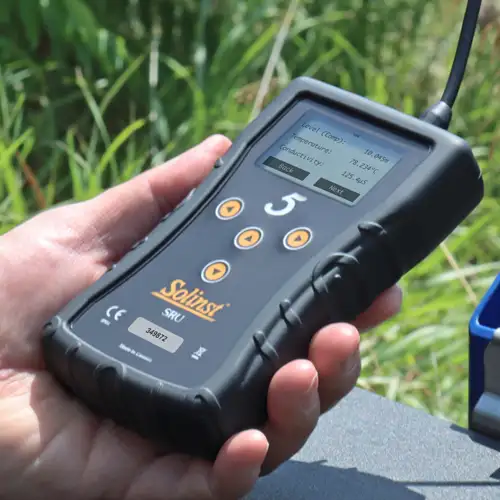
The Solinst Readout Unit (SRU) is a rugged, handheld device designed to connect to a deployed Solinst datalogger and display instant water level readings – with the option of automatic barometric compensation. Real-time logging and downloaded data can be saved and transferred to a PC. Quickly check the datalogger's status.
Versatile Submersible Water Level Transmitter
The 301 Water Level Temperature Sensor provides the option of highly accurate water level transmission using multiple protocols – MODBUS, SDI-12 and 4-20mA – for a wide variety of applications. This compact, all-in-one submersible hydrostatic level transmitter provides continuous, stable water level and temperature readings, with options for absolute and gauged pressure sensors.
415 12V Submersible Pump
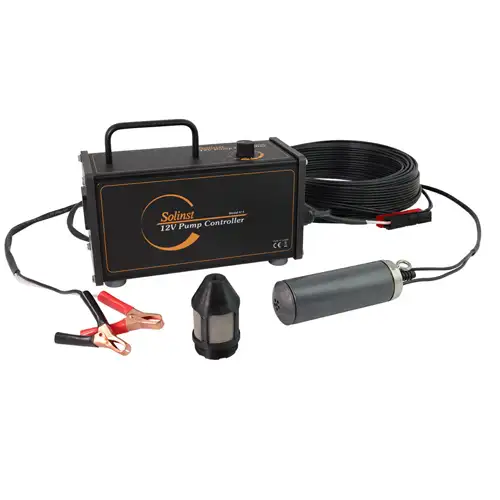
The Solinst 12V Submersible Pump provides an efficient means of purging and obtaining groundwater samples from 2" OD monitoring wells. The compact pump can sample from depths of 36.5 m (120 ft) below ground surface, and is easy to adjust the flow rates up to 13.5 L/min (3.6 US gpm) in shallower applications.

