Step 3: Configuration Progress

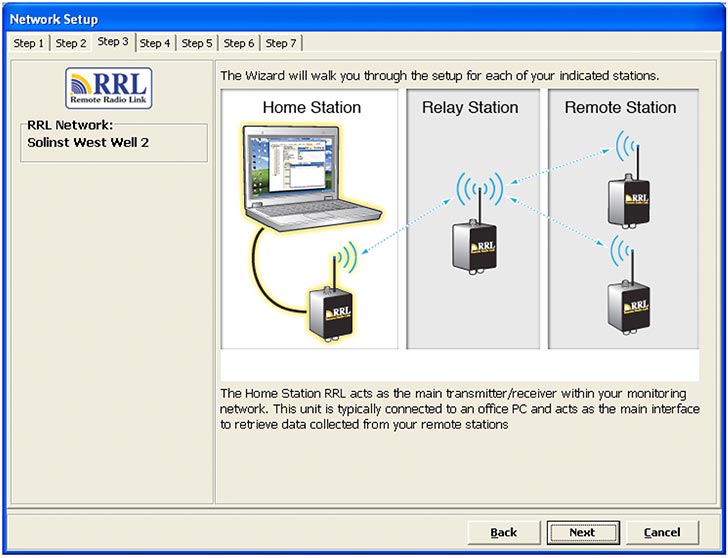
Figure 4-5 RRL Software Wizard Transition Screen
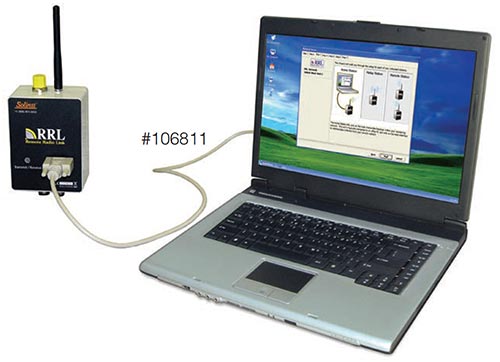
Step 3 is a transition screen. At this point you should connect the RRL Station you are about to program to the Home Station computer using an RS232 cable (#106811). This screen will identify that you are about to program the Home Station, a Relay Station or Remote Station. Programming the Home Station is always first. This screen will show you your progress in configuring your RRL Remote Radio Link Network. It will indicate which RRL Stations have been programmed and which RRL Stations are left to program.
Note:
It is recommended you connect your dataloggers to each RRL Station before programming.


