Note:
For information on using your AquaVent 5 logger with MODBUS or SDI-12 protocols, see separate User Guides.

AquaVent System Setup
- Download the software from: https://downloads.solinst.com/ and install Levelogger Software on your PC.
- Install the Wellhead batteries. The Wellhead uses four (4) userreplaceable 1.5V AA lithium batteries.
- Connect the Wellhead and logger to the Vented Cable:


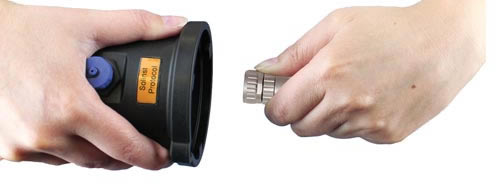
Line up the socket and the pin. Gently push the Wellhead and Vented Cable together and twist slightly until you feel/hear a small click when the properly aligned connection is made.

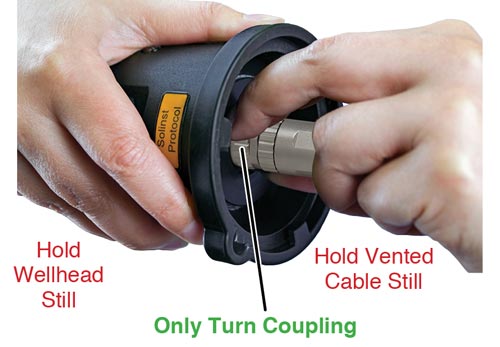
Only tighten the coupling while holding the Vented Cable and Wellhead still. Tighten the coupling until it seats. There should be no threads showing at the Wellhead connection. Do not twist the Vented Cable or Wellhead.
Follow the same procedure when connecting the logger to the Vented Cable.
Note:
See page 6 for instructions to install the Support Hanger Bracket, as shown at right.

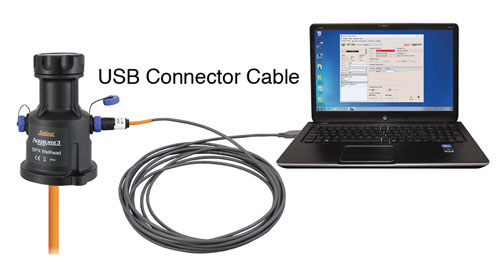
- Connect the USB Connector Cable to the 10-Pin (Solinst Protocol) connection on the Wellhead, then plug the USB Connector Cable into your computer.


