Tools and Materials Needed
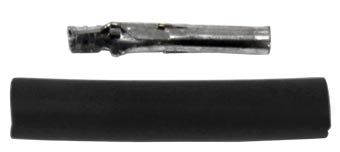
Molex Crimp Terminal
Female and 1/8"x 3/4"
Heat Shrink
- Probe Molex Crimp Terminal Set (set of 10) (#110779)
- 1 ft. of 1/8" Heat Shrink (#104114)
- Wire Strippers (if required)
- Scissors
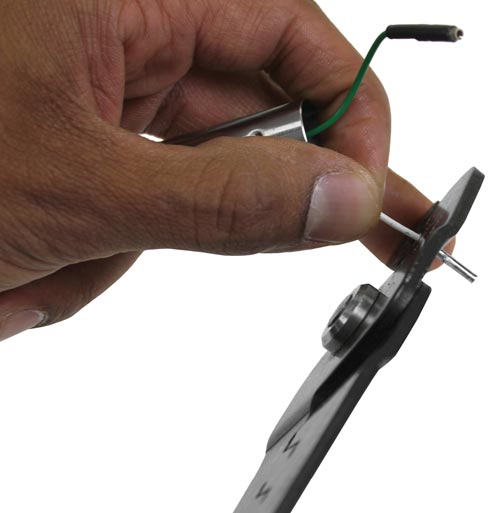
- Molex Crimp Tool (see photo) or Suitable Pliers
- Heat Gun
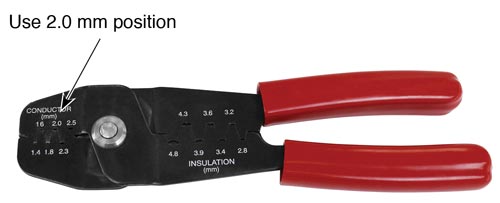
Recommended: Molex 63811-1000 Crimp Tool
Instructions
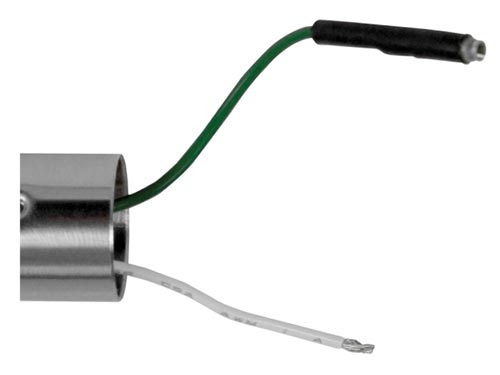
- Ensure the wire you are connecting the new crimp terminal to has been stripped by 3 mm.
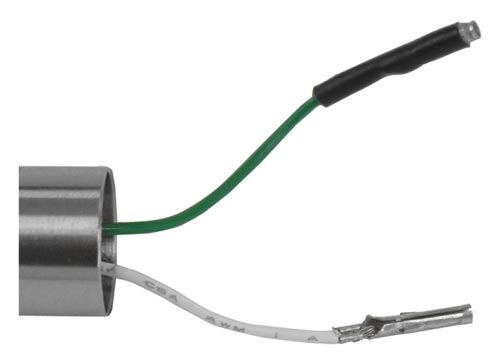
- Use the Molex Crimp Tool (2 mm position - see photo at top) or suitable pliers to connect the crimp terminal to the wire. Tug the crimp terminal to ensure it is securely attached to the wire.
- Cut off a 3/4" (19 mm) length of 1/8" heat shrink.
- Slide the heat shrink over the crimp terminal so there is only about 1 mm of the crimp showing at the end.
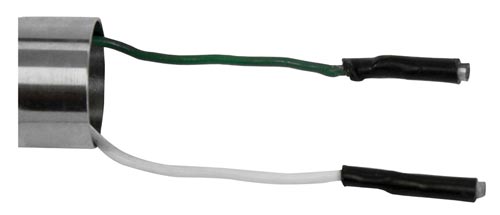
- Use the heat gun to seal the heat shrink onto the terminal. Ensure a good seal by pressing with your fingers.
- Lay the tape and tape seal plug so the numbers on the tape are facing up. Connect the terminal on the green wire to the brass connector on the top of the tape seal plug and the white wire terminal to the bottom brass tube. Ensure the connectors are pushed all the way onto the brass tubes.
- Slowly twist the probe up to two times. This shortens the wires and allows them to tuck easier into the probe body.
- Line up the indents in the probe with the grooves in the tape seal plug. Push the probe past the o-ring, then twist the probe clockwise until the probe seats on the tape seal plug.
- Test that the Meter is working correctly (see operating instructions if required).
