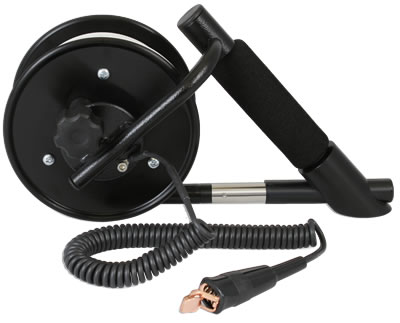
Model 122M Mini Interface Meter: Backplate Replacement
Tools and Materials Needed
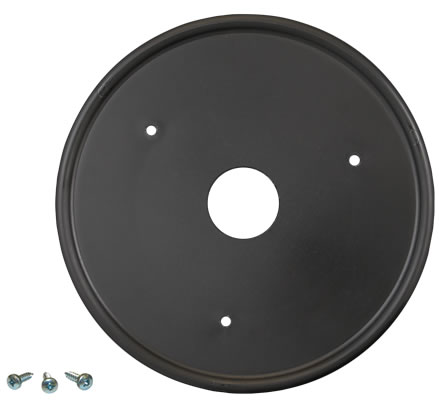
- 122M SC100 Mini Backplate Assembly (#107947), Includes:
- Backplate
- 3 x Phillips Screws
- Phillips or Robertson (Square Head) Screwdriver
- Retaining Ring Pliers

122M SC100 Mini Backplate Assembly
Instructions
- Place the reel on a flat surface, with the faceplate up. Remove the battery from the faceplate.
- Use the Phillips or Robertson screwdriver to undo the three screws holding the faceplate to the hub.
- Remove the faceplate and disconnect the 3 pin Molex connector that attaches the faceplate electronics to the cable/tape.
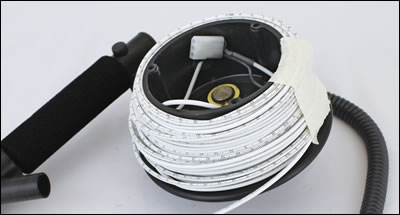
- Secure the cable/tape so it does not slide off the hub.

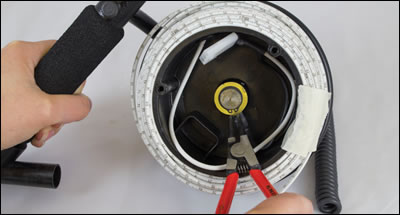
- Use the retaining ring pliers to remove the retaining ring holding the hub to the centre rod of the frame. Remove the washer, as well as the ground cable.

- Pull the hub and backplate from the frame.
- Undo the three screws holding the backplate to the hub.
- Secure the new backplate to the hub with the three screws.
- Ensure the brake pad is flush with the back of the frame. Slide the hub and new backplate onto the frame.
- Replace the washer over the centre rod. Replace the ground cable.
- Re-install the retaining ring on the centre rod.
- Connect the Molex connector from the faceplate to the cable/tape.
- Replace the faceplate by fastening three screws and replace the batteries.

- With the Probe in a glass of tap water and product, turn the Mini Interface Meter on. A steady tone and light indicates a product, while an intermittent tone indicates water. If the buzzer or light do not activate, check the soldered and Molex connections.


