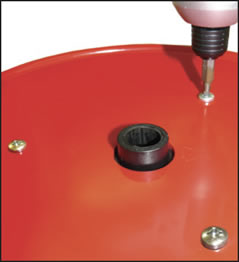
Tools and Materials Needed
- Replacement Backplate Assembly with Screws (#103560, #105294, #105295, #104252-black)
- Robertson or Phillips Screwdriver
- Retaining Ring Pliers
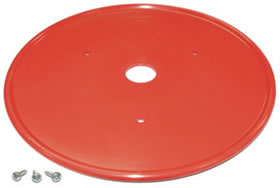
Red for Models 101, 107 and 122
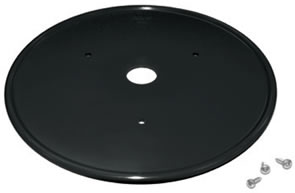
Black for Models 102 and 103
Red and Black Replacement Backplate Assemblies
Instructions
- Place the reel on a flat workbench with the faceplate up. Use the Phillips or Robertson screwdriver to undo the three screws holding the faceplate to the hub. Remove the faceplate.
- For Meters with a Molex connection, disconnect the connector that attaches the faceplate electronics to the tape/cable.
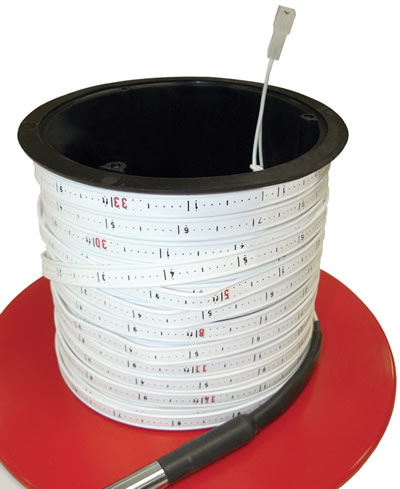
For Meters with tape leads connected to the circuit board, press down on the push-release fittings to remove the tape/ cable leads. Remember which lead is removed from each terminal – this is important when reconnecting. - Secure the tape/cable so it does not slide off the reel.
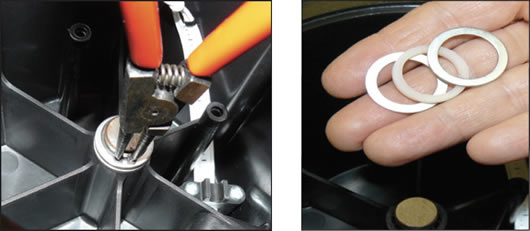
- Use the retaining ring pliers to remove the retaining ring holding the hub to the centre rod of the frame. Remove the three washers.
- Pull the hub and attached backplate from the frame.
- Undo the three screws holding the backplate to the hub.
- Secure the new backplate to the hub using the three screws.
- Ensure the black delrin spacer is installed on the centre rod of the frame (SC1000 reels only) and the brake pad is flush with the back of the frame. Slide the hub and backplate back onto the frame.
- Replace the three washers over the centre rod (nylon washer between the two stainless steel washers). Also reinstall the ground cable washer if replacing the backplate on a Model 122 Interface Meter. Reinstall the retaining ring on the centre rod.
- For Meters with a Molex connection, connect the connector from the faceplate to the tape/cable.
For Meters where the tape leads connect to the circuit board, push down on the white terminals, insert the leads, then release the terminals. - Check that the Meter is operating correctly. (Not required for Model 103 Tag Line replacements). See Meter operating instructions if required.
- Replace the faceplate on the hub and re-secure the three screws.
Note:
There is nothing to disconnect when replacing the backplate on a Model 103 Tag Line.
Note:
Model 122 Interface Meters will have an additional washer over the centre rod that is connected to the ground cable. Remove this washer as well.
