Tools and Materials Needed
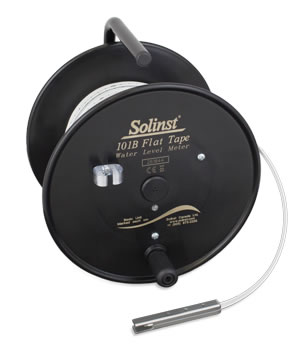
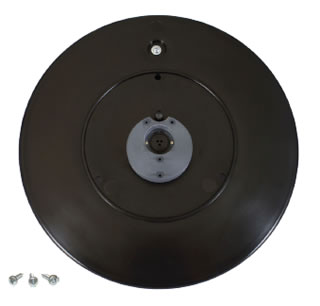
- Model 101B Water Level Meter Replacement Faceplate Assembly (#112175)
- with handle, spacer, and light lens installed
- 3 x Screws
- Large Phillips or Robertson Screwdriver
- Small Phillips Screwdriver
Instructions
- Place the reel on a flat workbench with the faceplate up. Undo the three screws from the faceplate, including the screw from the probe holder, and slowly remove the faceplate from the reel.
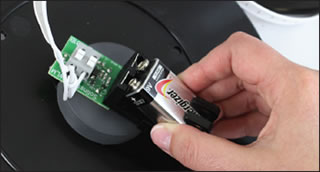
- Remove the battery from the PCB assembly.
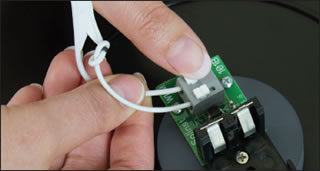
- Press down on the white terminals, and pull out to remove the tape leads from the PCB assembly.
- Use the small Phillips screwdriver to undo the four screws holding the PCB assembly to the old faceplate. Remove the PCB assembly.
Note:
If there are white nylon spacers around each of the four screws, save them to reuse in the next step.
- Attach the PCB assembly to the back of the new faceplate using the four screws. Ensure the light on the assembly is positioned correctly in the lens.
- Push down on the white terminals and insert the tape leads back into the PCB assembly. Release the terminals and the tape leads should be secured.
Note:
It does not matter which lead goes into which terminal.
- Replace the battery in the PCB assembly.
- Dip the probe in a glass of tap water. If the connections are correct, the buzzer and light on the Meter will be activated. Check connections if the buzzer and light do not activate.
- Attach the new faceplate to the reel using the three screws. Remember to replace the probe holder using the top left screw.


