Biobailer Operating Principles
When the BioBailer™ is lowered into a well or tank, the one-way check valve at the bottom of the bailer opens allowing water to fill the bailer. On retrieval, the check valve closes retaining a sample from the well or tank in the bailer from that elevation.
Operation
- Attach a support cable to the top of the bailer to allow lowering to the required depth. Solinst recommends using the Model 103 Tag Line or Kevlar® rope. The Tag Line uses polyethylene coated, laser-marked stainless steel cable or PVDF flat tape, mounted on a reel, and comes with a clip for easy attachment/detachment.
- Make sure the cable connection is secure. Lower the bailer on the support cable to the desired sampling depth or appropriate purging depth (when sampling from multiple levels, it is always best to start with the shallowest). Lower the bailer slowly to avoid splashing and agitation, so as to not influence sample quality.
- Gently raise the bailer to the surface using a steady rate of retrieval to maintain sample integrity.
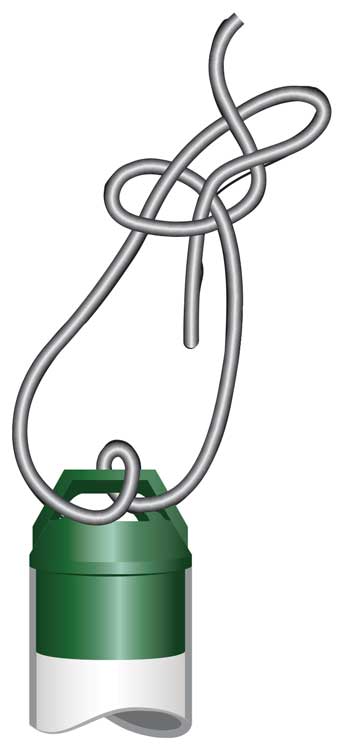
How to Tie the Support Cable

It is recommended that you tie a bowline knot to secure the support cable, rope, or wireline to the top of the bailer.
Sample Retrieval
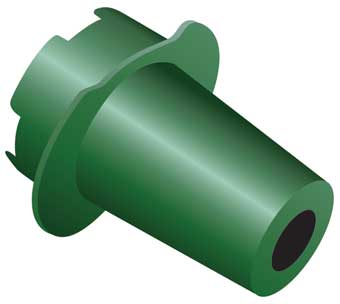
- Hold the bailer vertical and insert the sample release device into the bottom of the bailer to displace the check ball.
- Direct the outlet of the sample release device into a sample container.

™BioBailer is a trademark of Environmentally Suitable Products (ESP) Ltd.
®Kevlar is a registered trademarks of DuPont Corp.


