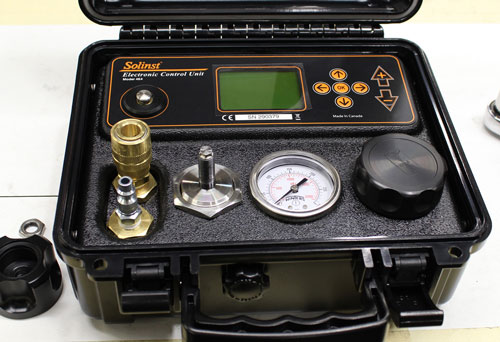
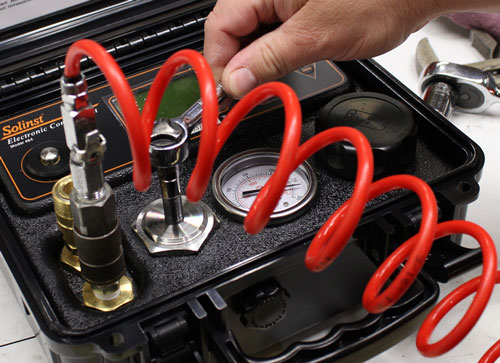
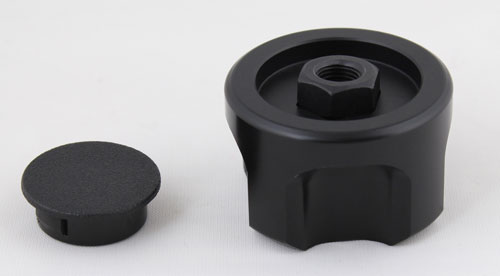
Tools and Materials Needed
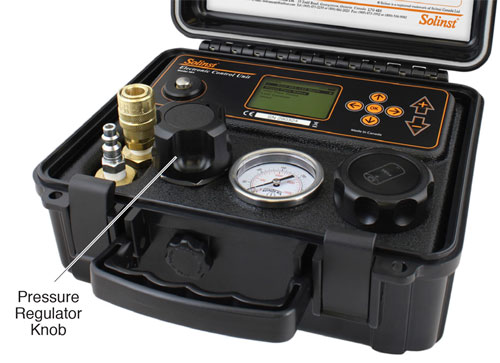
- 464 Pressure Regulator Knob Assembly – 250 psi (Spare) for the Control Unit (#114048)
- Small Flat Screwdriver
- Large Adjustable Wrench
- 17 mm Socket Wrench
- 9/32" Socket Wrench
- 300 psi Pressure Source (Compressed Gas Cylinder)
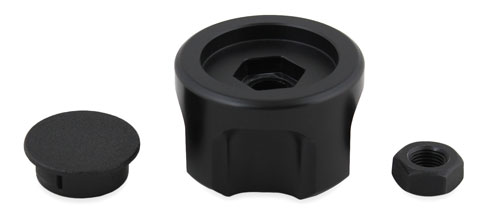
464 Pressure Regulator Knob Assembly – 250 psi (Spare) for the Control Unit (#114048)
Instructions
Instructions to replace the pressure regulator knob (part # 114048) on a Solinst 250 psi Model 464 Electronic Pump Control Unit, for use with Solinst pneumatic groundwater sampling pumps. A 300 psi pressure source and various wrench sizes are required.
- Turn the Pump Control Unit off. Disconnect the pressure supply line.
- Use a small flat screwdriver to pry the plug from the pressure regulator knob.
- Use the adjustable wrench to stabilize the knob while loosening the nut from the inside of the knob using the 17 mm socket wrench.
- Unscrew and remove the nut and knob from the stem of the pressure regulator assembly.
- Connect the pressure source to the Control Unit. At the source, turn the pressure up to about 280 psi (between 250 and 300 psi).
- Use the 9/32" socket wrench to turn the stem of the pressure regulator assembly clockwise until the pressure reading on the gauge of the Control Unit is above 250 psi and the needle stops moving.
- Insert the black nut that came with the new knob assembly into the cutout on the bottom of the new knob. Press firmly into place.
- Slowly screw the new knob onto the stem of the pressure regulator assembly until it bottoms out. Do not tighten. Turn the knob 1 and 1/2 turns back from that position.
- Install the stainless steel nut (removed with the old knob) to the stem of the pressure regulator assembly.
- Wrap a cloth around the new knob to prevent damage. Use the adjustable wrench to stabilize the knob while tightening the nut using the 17 mm socket wrench. Tighten until very snug.
- Test the Control Unit to ensure proper connections and pressure settings were made.
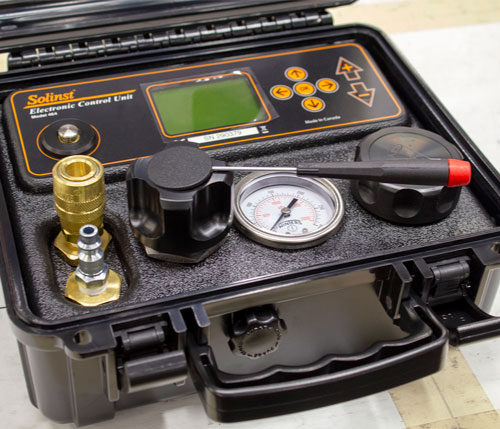
Note:
You may want to use a cloth around the knob to prevent further damage to the old knob.
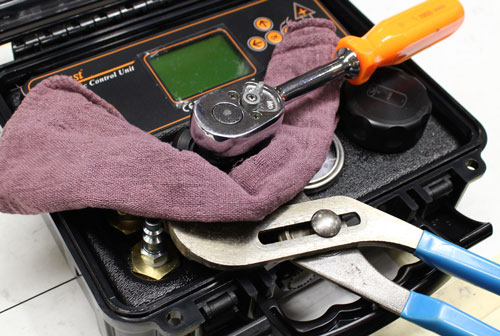
Note:
Save the nut to use when installing the new knob.
