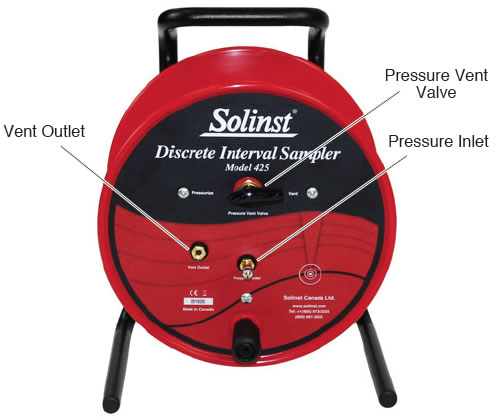
Model 425 Discrete Interval Sampler Tubing Reel
Tools and Materials Needed
- Required Repair Kit
- Phillips or Robertson Screwdriver
- Adjustable Wrench
- 7/16" Wrench
- 9/16" Wrench
- 5/64" Allen Key
Instructions
- Place the reel on a flat surface, with the faceplate up.
- Use the screwdriver to undo the three screws holding the faceplate to the reel, and slowly remove the faceplate.
- Unthread the fitting to remove the black tubing from the Pressure Vent Valve.
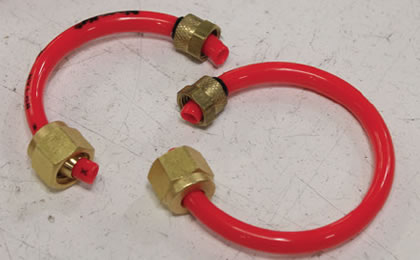
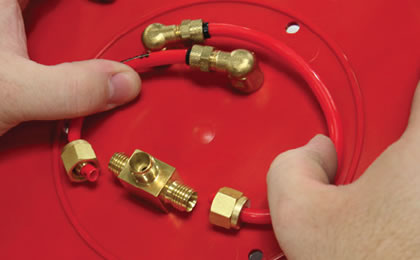
- Use the appropriate wrenches to unscrew and remove the fittings and red tubing from the faceplate components.
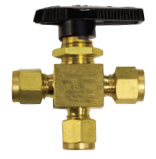
Replacing the Pressure Vent Valve
- 3 Way Ball Valve (Brass) (Spare) (#111746)
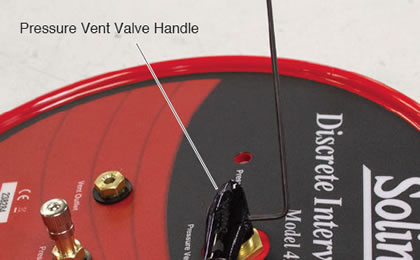
- On the front of the faceplate, use the Allen key to loosen the screw and remove the Pressure Vent Valve Handle.
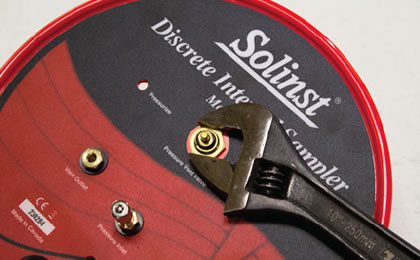
- Use the adjustable wrench to unscrew the nut and remove the Pressure Vent Valve from the faceplate.
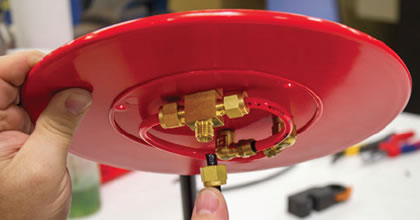
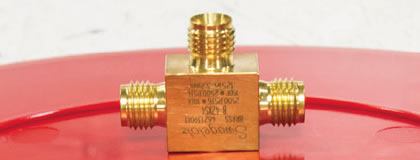
- Remove the three brass fittings, and insert the new Pressure Vent Valve through the opening in the faceplate. Ensure the side of the Pressure Vent Valve with writing is facing the centre of the faceplate. See photo below.
- Secure the Pressure Vent Valve using the nut, and install the Pressure Vent Valve Handle.
Note:
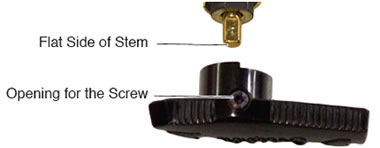
When installing the Pressure Vent Valve Handle, ensure that the opening for the screw in the Handle is matched up with the flat side of the stem. See photo below.

Replacing the Pressure Inlet
- 1/8" NPTM (3/4" stem) Tank Valve (set of 10) (#111747)
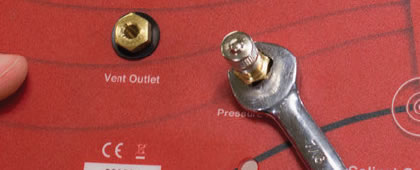
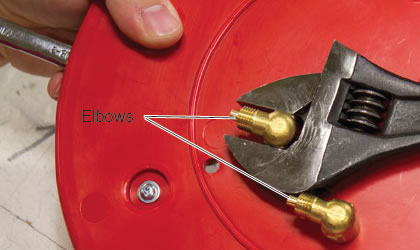
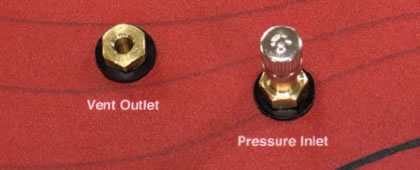
- Use the 7/16" wrench to stabilize the Pressure Inlet on the front of the faceplate, while using the adjustable wrench to unscrew the elbow on the back of the faceplate. Remove the old Pressure Inlet, saving the black plastic washer.
- Slide the black plastic washer onto the new Pressure Inlet and insert the Inlet through the front of the faceplate. Use the wrenches to install the elbow to the new Pressure Inlet.

Replacing the Vent Outlet
- 3/16" Modified Hex Plug (set of 10) (#111748)
- Use the 7/16" wrench to stabilize the Vent Outlet on the front of the faceplate, while using the adjustable wrench to unscrew the elbow on the back of the faceplate. Remove the old Vent Outlet, saving the black plastic washer.
- Slide the black plastic washer onto the new Vent Outlet and insert the Outlet through the front of the faceplate. Use the wrenches to install the elbow to the new Vent Outlet.
- On the back of the faceplate, use the fitting from the elbows and the brass fittings from the Pressure Vent Valve to reconnect the red tubing to the components. Ensure the fittings are tight.
- Connect the black tubing to the Pressure Vent Valve using the third new brass fitting. Ensure it is 1-1/4 turns past finger tight.
- Apply pressure and check for leaks to confirm proper seals.
- Reconnect the faceplate to the reel using the three screws.
Note:
When tightening the new brass fittings on the Pressure Vent Valve, ensure they are tightened 1-1/4 turns past finger tight for a proper seal. If you are reusing the old brass fittings on the tubing, just ensure they are snug (plus 1/4 turn).
