Tools and Materials Needed
- Solinst 12V Compressor On/Off Switch Replacement Assembly (#111839)
- 3/8" Wrench
- 5/32" Allen Key
- Pliers
- Wire Cutters and Strippers, if required
- Heat Gun, if required
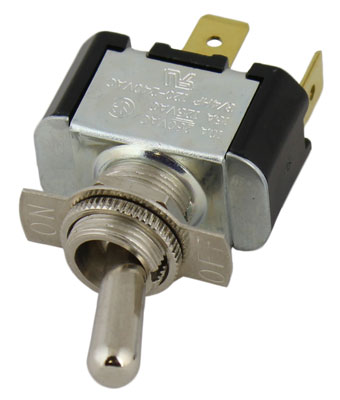
On/Off Switch
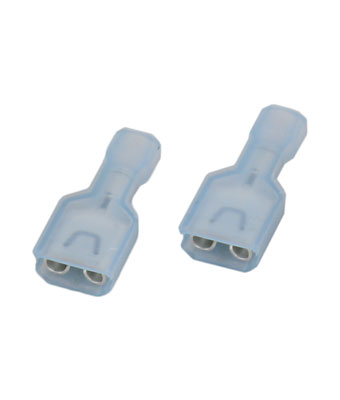
Quick-Connect Fittings
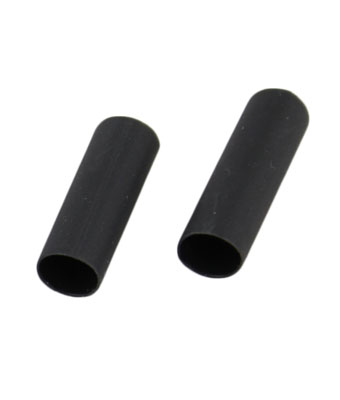
Heat Shrink
12V Compressor On/Off Switch Replacement Assembly
Instructions
CAUTION:
Ensure the power supply is disconnected from the 12V Compressor and the pressure has been fully vented from the tank.
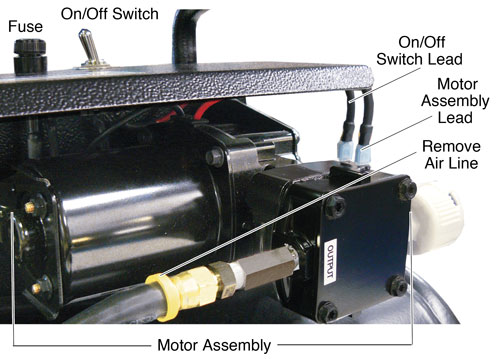
- Pull to remove the leads from the pressure switch. Remove the air line from the fitting on the motor assembly.
- Use the 3/8" wrench to stabilize the nuts, while using the 5/32" Allen key to undo the bolts holding the motor assembly to the Compressor frame.
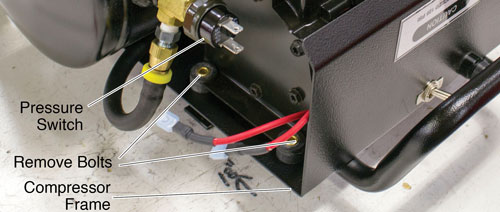
- Remove the motor assembly from the Compressor frame. Note, the motor will still be connected to the Compressor by a black ground wire.
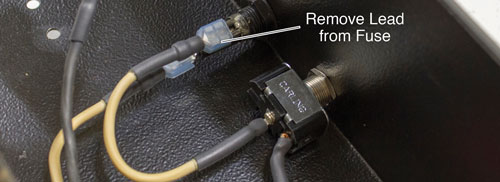
- Disconnect the lead from the on/off switch to the fuse.
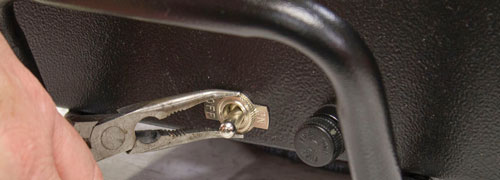
- Use the pliers to undo the nut holding the on/off switch in place and remove the switch from the Compressor frame.
- If your Compressor has quick-connect fittings to the switch, simply remove both leads from the old switch.
- If your switch does not have quick-connect fittings, cut the leads off the old on/off switch as close to the switch as possible. Remove the old heat shrink and strip the ends of the leads. Use pliers to securely crimp the fittings supplied with the replacement assembly to the leads. Slide the pieces of heat shrink over the crimped connections and shrink in place using the heat gun.
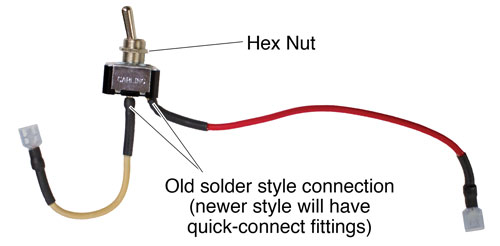
- Connect the leads to the new on/off switch. The white lead goes to the middle terminal, and the red lead to the other.
- Ensure the hex nut is screwed 1/3 of the way onto the new switch. Place the switch through the opening in the compressor frame, ensuring the terminal with the red lead is to the right.
- Place the metal on/off label over the new on/off switch, ensuring the side labeled "ON" is next to the fuse. Secure the switch using the nut.
- Reconnect the lead from the on/off switch to the fuse.
- Use the bolts to mount the motor assembly back onto the Compressor frame.
- Reconnect the leads to the pressure switch (it does not matter which lead is connected to which terminal).
- Reconnect the air line to the motor assembly.


