Tools and Materials Needed
- 464 Replacement Label Assembly (#111176)
- 3/32" Allen Key
- Sharp Blade
Instructions
- Turn the Control Unit off and remove the batteries.
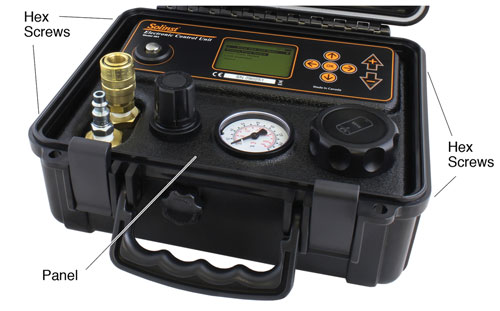
- Use the Allen key to undo the four Hex screws on the sides of the Control Unit.
- Remove the panel from the Control Unit and turn it over.
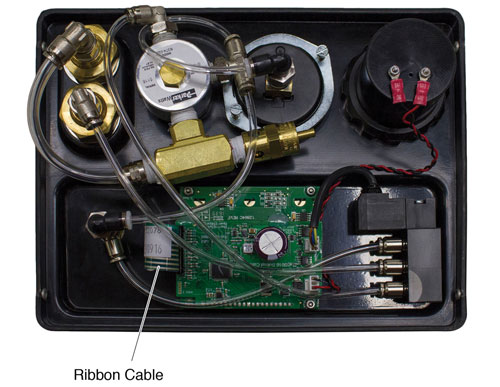
- Carefully disconnect (pull) the ribbon cable from the circuit board.
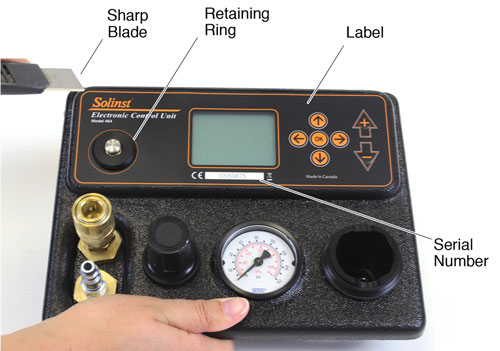
- On the front of the panel, unscrew the retaining ring from the manual control valve.
- Use a sharp blade to peel up one corner of the label. Use that corner to slowly peel the entire label from the panel
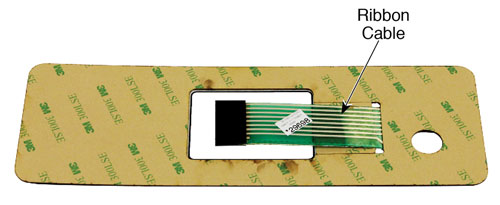
- Peel all the backing from the new label. There is a small separate piece of backing underneath the ribbon cable.
- Line up the label, and insert the ribbon cable through the slot in the front of the panel.
- Ensure the label is lined up correctly, and slowly affix the new label to the panel.
- Reinstall the retaining ring around the manual control valve.
- On the back of the panel, connect the ribbon cable from the new label to the circuit board.
- Replace the panel in the Control Unit and secure using the four Hex screws.
- Replace the batteries.


Back view of the new 464 label.
Note:
It is important to ensure the label is lined up correctly. Once you have adhered the new label, you can not adjust the positioning.
Important:
For our warranty records, please contact Solinst with the serial number on the old label, and the serial number on the new label you are replacing it with.


