In a previous blog post, we discussed the need for, and importance of, barometrically compensating your Levelogger data. Now we will discuss how to actually go about doing a barometric compensation. Here we will focus on our recommended method, which is by using a Barologger and the Levelogger Software Data Wizard.
(Click here to read the previous post, Simplified Data Wizard Makes Barometric Compensation Easy)
A Quick Review of Barometric Compensation
Leveloggers are self-contained; they measure total or absolute pressure. When submerged, they record both barometric pressure and water pressure above their sensor. Because we want Leveloggers to provide fluctuations in water pressure only, their data must be barometrically compensated. To do this, barometric pressure must be subtracted from the Levelogger readings. This is why we recommend the use of a separate Barologger, which only measures barometric pressure. Using Levelogger data and corresponding Barologger data, the Levelogger Software Data Wizard automatically does the subtraction for you.
On another note, to read about our AquaVent and LevelVent vented water level dataloggers, with automatic barometric compensation, check out another one of our previous posts: Vented Datalogger Cable Design, Proper Use & Maintenance
Setting Up for Successful Barometric Compensation
A successful barometric compensation begins even before your Leveloggers start collecting data. When first programming and installing your Leveloggers and Barologger, there are a few things to keep in mind:
The Leveloggers and Barologger should ideally have:
- the same start and stop times (the Future Start option is a convenient way to start all of your dataloggers at the same time),
- the same sampling interval,
- been synchronized to the same clock,
- and been installed within 1000 ft. (300 m) and 20 miles (30 km) of each other
(a past blog post discussed in detail, the importance of this point: Accounting for Altitude When Compensating Levelogger Data).
All programming is done in the Levelogger PC Software Datalogger Settings tab (or using the Solinst Levelogger App).
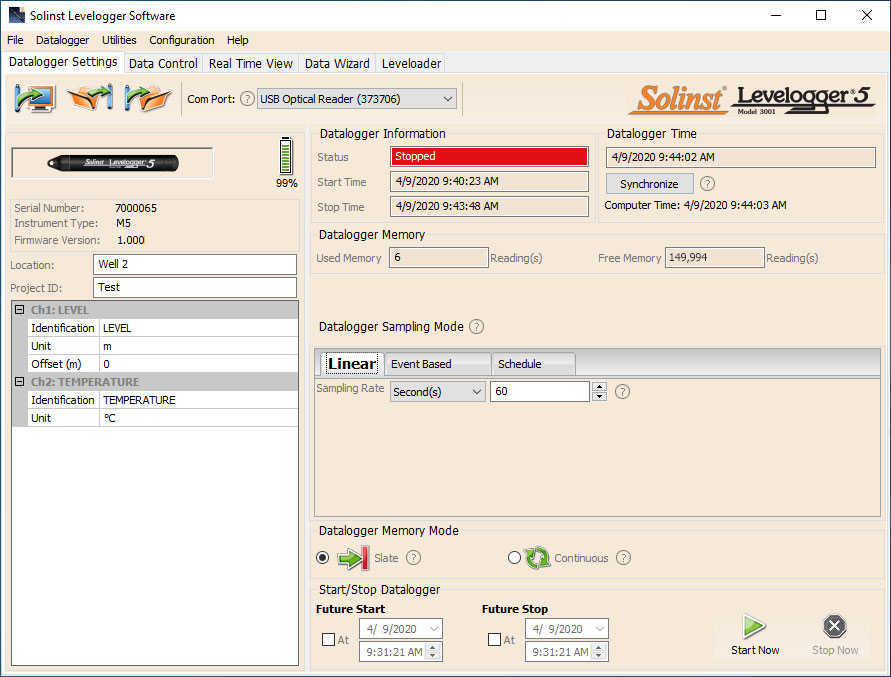
Levelogger Water Level Datalogger Settings Tab
Here’s a tip; if a number of Leveloggers and the Barologger are to be programmed with identical inputs, clicking the ‘Save Default Settings’ icon will create a template that can be applied to each datalogger being programmed, by selecting ‘Apply Default Settings’ icon.
See Section 5 in the Levelogger User Guide for more on how to program your Leveloggers.
Preparing for Barometric Compensation
Once you have collected your data, and downloaded your Levelogger and Barologger data files (See Section 7 in the Levelogger User Guide), you are ready to use the Data Wizard.
Tip; to avoid potential compatibility issues, Solinst always recommends you download your data using the same Software Version that you used to program your dataoggers.
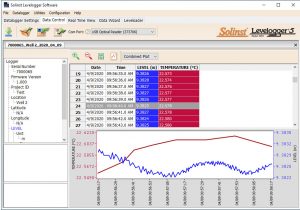
Data Control Tab with Files for Barometric Compensation
Another tip; if not already done, open the Levelogger and Barologger Files that you want to use in your compensation, in the Data Control tab. Click the ‘Open File’ icon to browse your computer for the files.
When you click on the Data Wizard tab, there will be two choices for the Levelogger: Basic and Advanced.
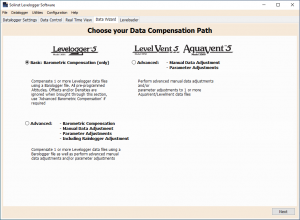
Data Wizard Compensation Options
Basic Barometric Compensation
To perform a barometric compensation only, select Basic.
The first step in a Basic barometric compensation is to select the Barologger file you want to use for compensation. You can only select one Barologger file.
Any files that you have open in the Data Control tab will be listed. To add a file to the list, click the ‘Open File’ icon to browse your computer for the files. To select the file for compensation, click on the file name to highlight it in blue (to de-select it, click it again). Ensure you only have one Barologger file highlighted.
In the window below, you will select and highlight the Levelogger file(s) that you want to compensate. You can select multiple Levelogger files to be compensated by the selected Barologger file. Remember, these files should ideally all have the same start time, and sampling interval, and have been recording within 1000 ft. (300 m) and 20 miles (30 km) of the Barologger.
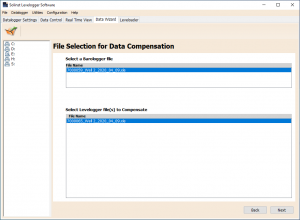
Selecting a Barologger File and Levelogger File(s)
All you have to do now is select “Next”. The Data Wizard will automatically compensate your Levelogger files.
You don’t have to worry about Levelogger and Barologgers files with different units of measure (i.e. feet, meters or psi), or worry about using an older Levelogger Edge with the new Barologger 5, or vice versa. The Data Wizard takes into account any differences in measured units or model offsets.
Your compensated Levelogger Files can be viewed by going back to the Data Control tab. A new file will have been created, with the original file name, but with “Compensated” added to the end of it. From Data Control, you can export the compensated data file as a *.csv, *.xml, *.bmp, or *.png file for use in other programs.
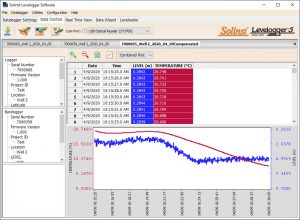
Basic Barometric Compensation Results
Advanced Data Compensation
There may be other factors that are important for your monitoring project, such as compensating for elevation differences, or you may want to adjust your readings to a specific reference point – such as the top of a well casing. These types of compensations can be done using the Advanced option in the Data Wizard. The Advanced option allows you to perform a barometric compensation, as well as these other types of data adjustments, all at the same time.
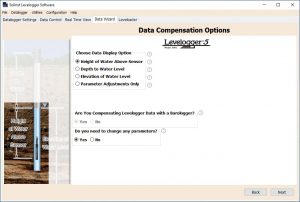
Advanced Levelogger Data Compensation Options
We hope we have given you all the tools you need to successfully compensate your Levelogger data using Solinst Levelogger Software. As always, if you need any further assistance, our Sales and Technical staff are ready to help.
