Purge / Grout Adaptor Operating Instructions
Depth Discrete Groundwater Monitoring
Reduce Costs and Field Time
Grouting Option
Tools and Materials Needed for Grouting
- 7-Channel CMT Purge/Grout Adaptor Assembly (#108130) Includes:
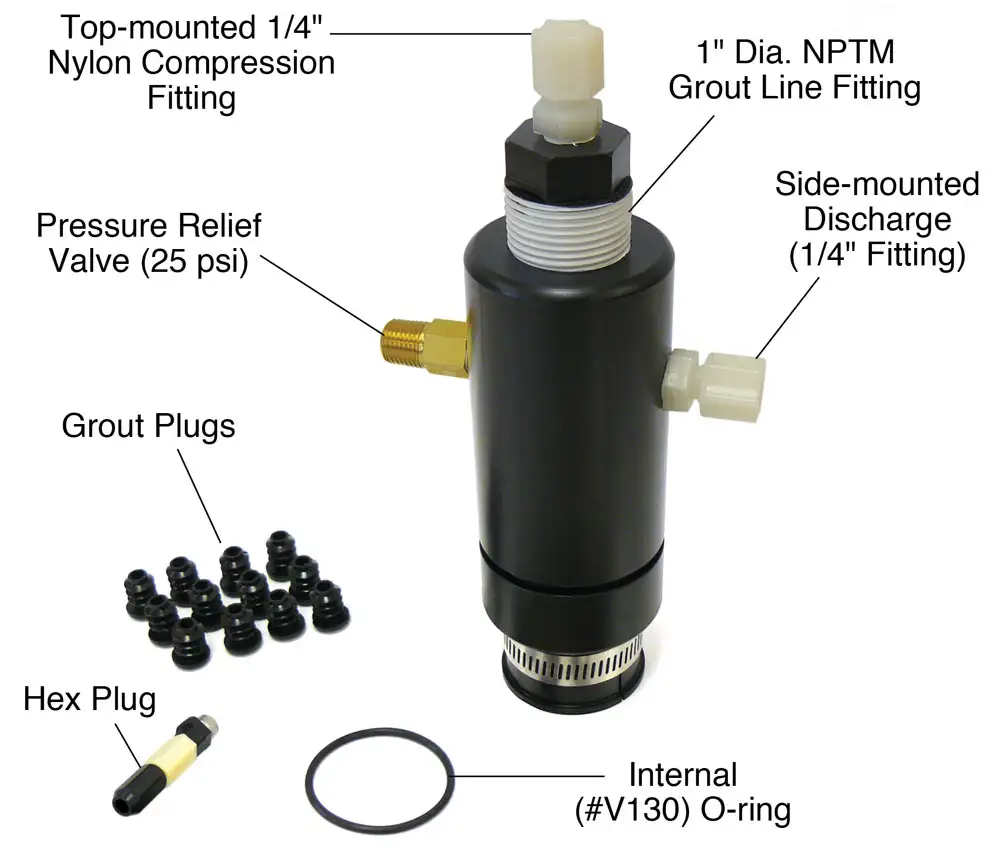
- Purge/Grout Adaptor
- 1 x Gear Clamp (#108201)
- 2 x Internal (#V130) O-rings (one extra) (#103807)
- 12 x Grout Plugs (#104027)
- 1 x Hex Plug (#108208)
- 7-Channel Torque Driver (#107255)
- Slot Head Screwdriver
Note:
2″ = 50 mm, 1″ = 25 mm, 1/4″ = 6 mm, 1/8″ = 3 mm

Grout Adaptor Operating Principles
Once the ports are completed in the CMT, and prior to installation, the vent holes, located below each of the port openings, are fitted with Grout Plugs. This helps reduce the amount of excess grout flowing from the vent holes during the grouting process.
The Purge/Grout Adaptor is then attached to the bottom of the CMT. The Grout Adaptor allows the connection of a 1″ diameter NPTM grout line. The unused CMT channels below each port opening can be filled with grout from the bottom port up. A pressure relief valve (25 psi) is built-in to the adaptor to avoid over-pressurizing the CMT channels.
Grout Adaptor Setup Instructions
- With the ports completed, lay the CMT on the ground and use the torque driver to install and torque the Hex Plug into the bottom/base of the CMT (in middle Channel 7).
- Insert the Grout Plugs to restrict flow into each vent hole.
- With the top-mounted 1/4″ compression fitting still attached, unscrew and remove the upper black Delrin® fitting from the top of the Grout Adaptor. This will allow access forthreading the 1″ diameter grout line.
- Be sure to keep the O-ring inside the base of the Adaptor. This will ensure a seal between the Adaptor and the CMT tubing.
- Place the Adaptor onto the base of the CMT tubing and slide up by about 2″. Tighten the Gear Clamp at the base of the Adaptor to secure it to the CMT.
- Plug the Side-mounted Discharge with a grout bypass line.

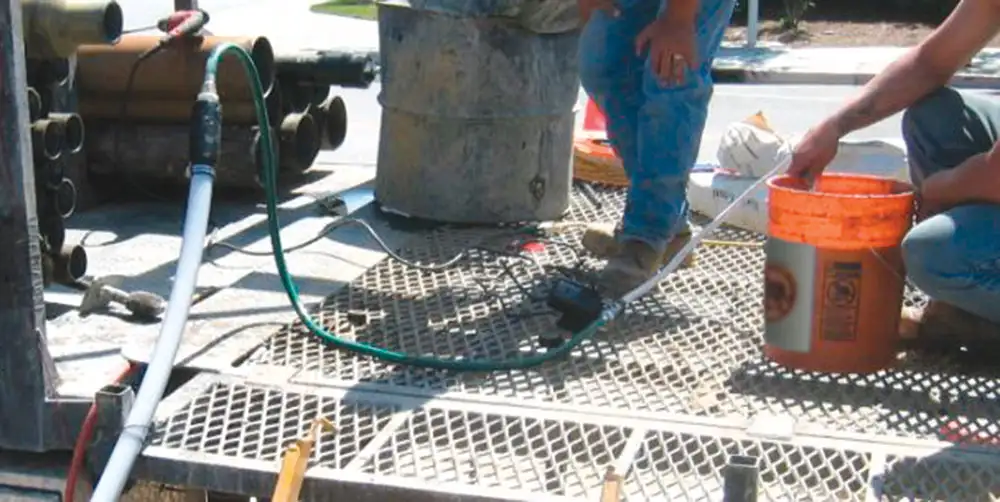
1″ diameter Grout Line connected to Grout Adaptor, attached to bottom of CMT.
Grouting Instructions
- With the CMT assembly still lying on the ground, thread the 1″ diameter grout line directly onto the top of the Grout Adaptor.
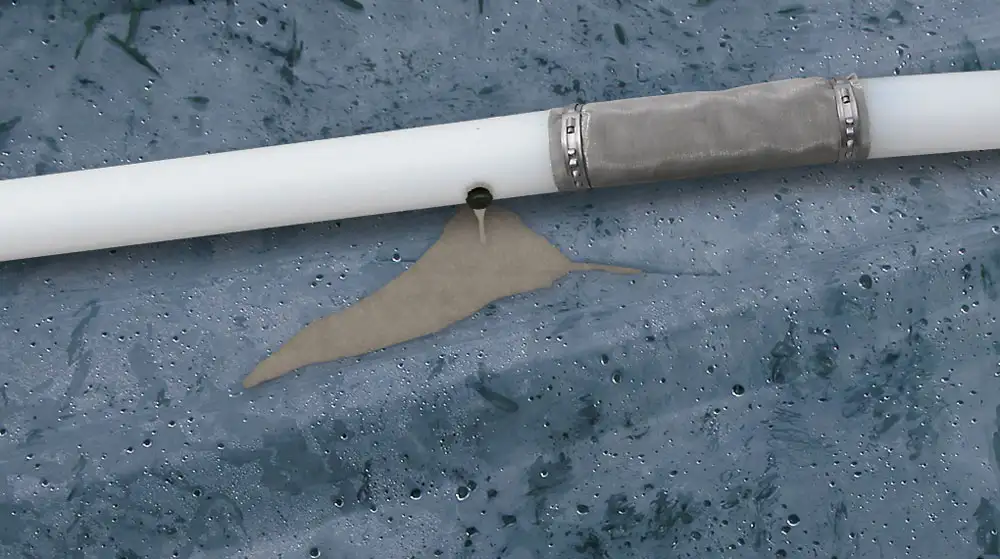
- Proceed to grout until the grout reaches and exits the Grout Plugs, in each of the vent holes.
- Remove the Grout Adaptor and clean. Wipe the end of the CMT clean.
- Install and torque the Base Plugs into each of the outer CMT channels.
- Remove the centre Hex Plug and install the guide point port.
Decontamination Suggestions
Follow your usual cleaning protocols and procedures. Washing the Adaptor can be easily accomplished with a small brush and suitable cleaning solution.

Grout exiting the Grout Plug, below the Port Screen.
® Delrin is a registered trademark of DuPont Corp.
Purging Option
Tools and Materials Needed for Purging
- 7-Channel CMT Purge/Grout Adaptor Assembly (#108130) Includes:
- Purge/Grout Adaptor
- 1 x Gear Clamp (#108201)
- 2 x Internal (#V130) O-ring (one extra) (#103807)
- 12 x Grout Plugs not required for purging (#104027)
- 1 x Hex Plug (#108208)
- Set of 10 Standard Pie Plugs (#107836)
- Model 464 Driveline Adaptor (#107117)
- Tools from Standard 7-CH Installation
- 7-Channel Torque Driver (#107255)
- 1/8” Allen/Hex Wrench (#103408)
- Solinst Model 464 Electronic Control Unit (#112506 – 125 psi or 112508 – 250 psi)
- 1/4″ OD x 0.17” LDPE tubing
- Compressed Gas (Air or Nitrogen)
- Suitable Discharge Container
- Standard/Slot Head Screwdriver
- Pliers

Note:
1/4″ = 6 mm, 1/8″ = 3 mm, 2″ = 5 cm
Purge Adaptor Operating Principles
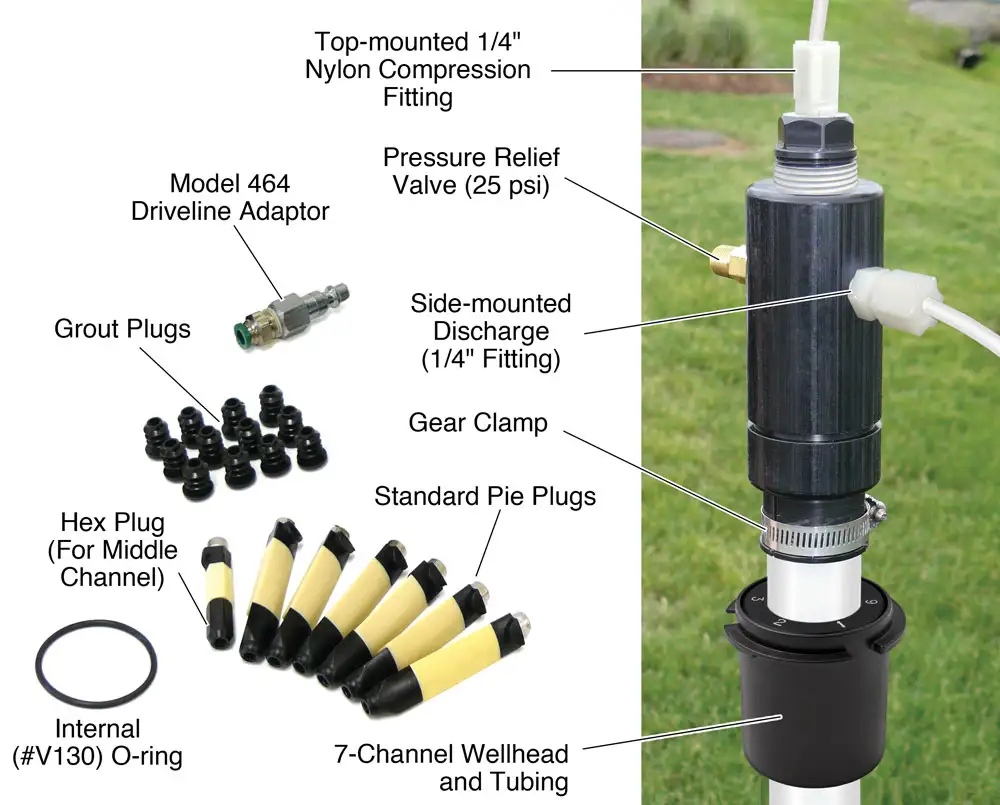
Once your CMT is installed to depth, the CMT Purge/Grout Adaptor is placed over the top of the CMT and used to deliver gas (air or nitrogen) down a 1/4″ OD drop tube inserted into one CMT channel. The other 6 channels are plugged to avoid cross-contamination. The applied air pressure “lifts” water from within the channel to discharge at surface. Discharge travels up the annulus between the 1/4″ OD drop tube and the CMT Multilevel System channel, and out through the side-mounted Discharge on the Adaptor. The Discharge is fitted with a short length of 1/4″ OD tubing to help direct the purged water to a suitable container.
An Electronic Control Unit should b e used to supply and regulate the gas through the Adaptor. A drive and vent cycle can be repeated manually or automatically, and adjusted to suit the permeability or recharge rate of the formation you are purging.
Once channel developing/purging is complete, vent the Wellhead, remove the Adaptor, and rearrange the plugs to open the next CMT channel for purging. A pressure relief valve is built-in to the adaptor to avoid over-pressurizing the CMT channels.
Purge Adaptor Setup Instructions
- Use the Allen/Hex wrench to loosen the 1/8″ set screw on the numbered CMT Wellhead Cap. Without rotating the Cap (to not lose track of the channel numbers) slide it down the CMT about 2″ (5 cm). Retighten the Wellhead Cap.
- Using the torque driver, plug the CMT channels not being purged, with the Standard Pie Plugs and Hex Plug.
- Feed an appropriate length of 1/4″ OD tubing to the desired depth in the channel to be purged. To avoid injecting drive gas into the formation, it is best to leave the lower end of the tubing well above the port intake.
Also, leave enough tubing at the Wellhead to reach your gas source and Control Unit. - Be sure to keep the O-ring inside the base of the Adaptor. This will ensure a seal between the Adaptor and the CMT tubing.
- Feed the 1/4″ tubing through the bottom of the Adaptor and up through the top-mounted compression fitting. Lower the Adaptor onto the CMT tubing by about 2″.
- Tighten the top-mounted compression fitting. Attach the Driveline Adaptor to the other end of the tubing and to the Electronic Control Unit.
- Tighten the Gear Clamp at the base of the Adaptor to secure it to the CMT.
- Attach an appropriate length of 1/4″ tubing to the Side-mounted Discharge Compression Fitting on the Adaptor, to handle the discharge.
Developing/Purging Instructions
- Insert the discharge line into your collection container or flow cell.
- Adjust the Control Unit “Regulator” to the appropriate pressure setting [(depth to water in ft. x 0.43psi/ft.) + 10psi].
- Adjust the drive and vent times on the Control Unit to suit your recharge conditions and desired flow or discharge rate.
Note:
When rearranging the plugs to purge/develop the next channel, only loosen the hex/pie plugs enough to pull them from the CMT channel. Use pliers to grab the top of the loosened plugs. Be careful not to detach the bottom nut down channel.
Decontamination Suggestions
Follow your usual cleaning protocols and procedures. Was the Adaptor with a small brush and suitable cleaning solution.
To avoid cross contamination through the 1/4″ purge tube, it is suggested to dedicate separate tubing to each channel.
